

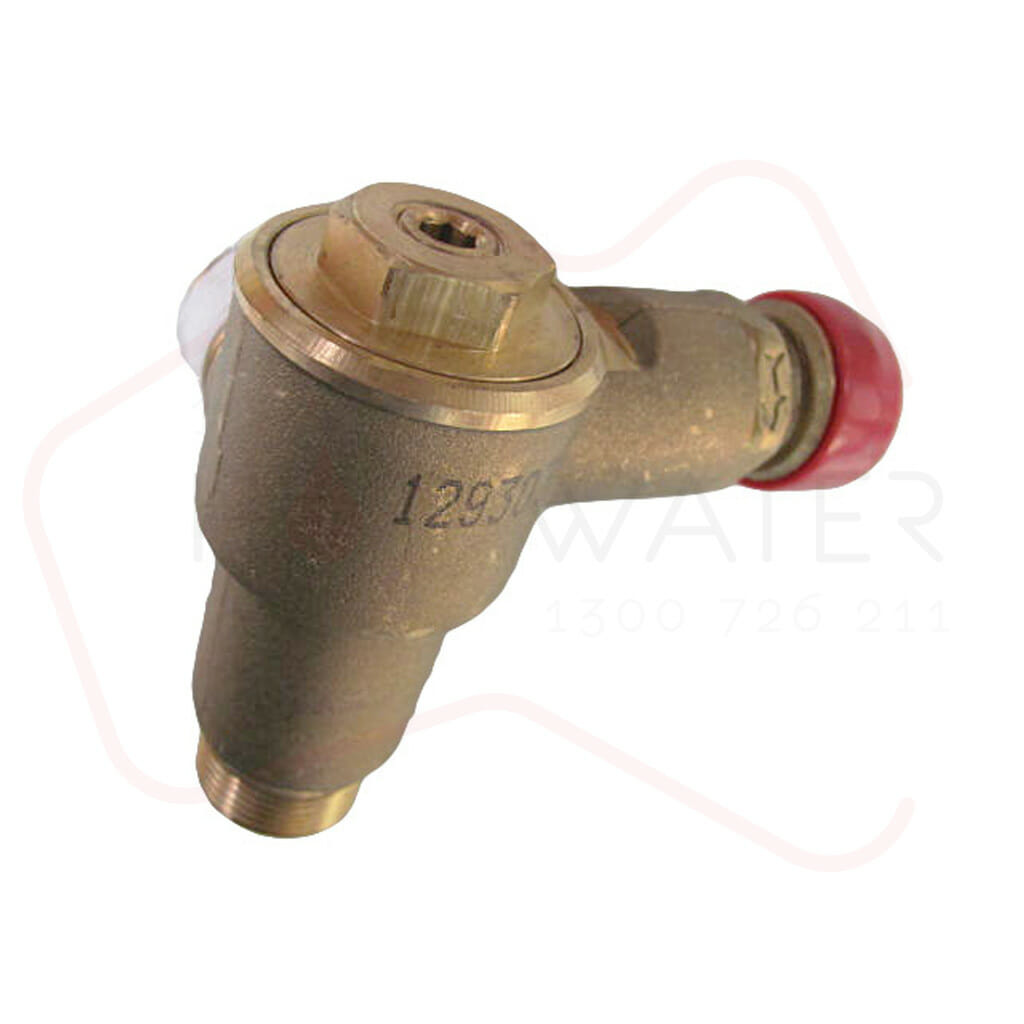

Description
Rheem 220601 Tempering Valve
Suits Rheem Plus Electric Hot Water Systems
Tempering Valve – Rheem Plus Models


A quantity of hot water will discharge from the tank during this process. Personal Protective Equipment should be worn to prevent the risk of scalding.
- Isolate the power and water supplies to the water heater.
- Relieve pressure from the water heater through the T&PR valve or a hot tap.
- Drain the water heater (refer to “Draining the Water Heater” on page 29).
- Remove the tempering valve and cold pipe access covers.
- Disconnect cold and warm water pipes from tempering valve and unscrew tempering valve from heater.Note: Removal of the cold pipe requires the use of a special tool, part number 890330. To remove the cold pipe from the tempering valve slide the tool over the pipe and push up against the quick connect fitting whilst pulling down on the cold pipe.
- Screw new tempering valve into heater using thread tape on threaded section.
- Insert cold pipe into tempering valve quick connect fitting and push up to click pipe into place (no tool required).
- Reconnect warm water pipe using thread tape on threaded section.
- Close hot tap or T&PR valve and restore water supply.
- Check for leaks.
- Purge air from the system through hot taps.
- When tank is full restore the power supply to the water heater.
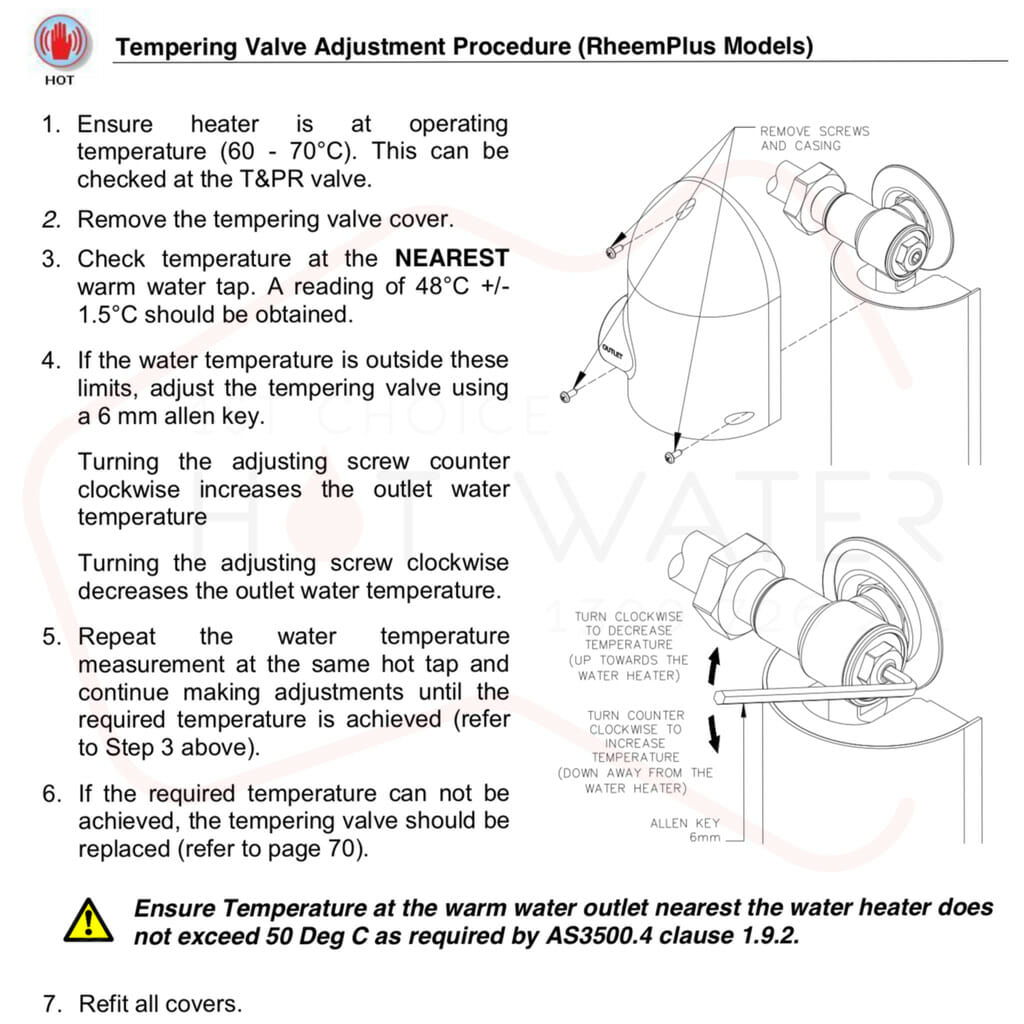
After replacing the tempering valve the warm water temperature will need to be checked to ensure correct operation. A reading of 48oC +/- 1.5oC should be obtained at the NEAREST warm water tap. NOTE: The reading obtained must be less than 50oC as required in AS 3500.4 clause 1.9.2.


