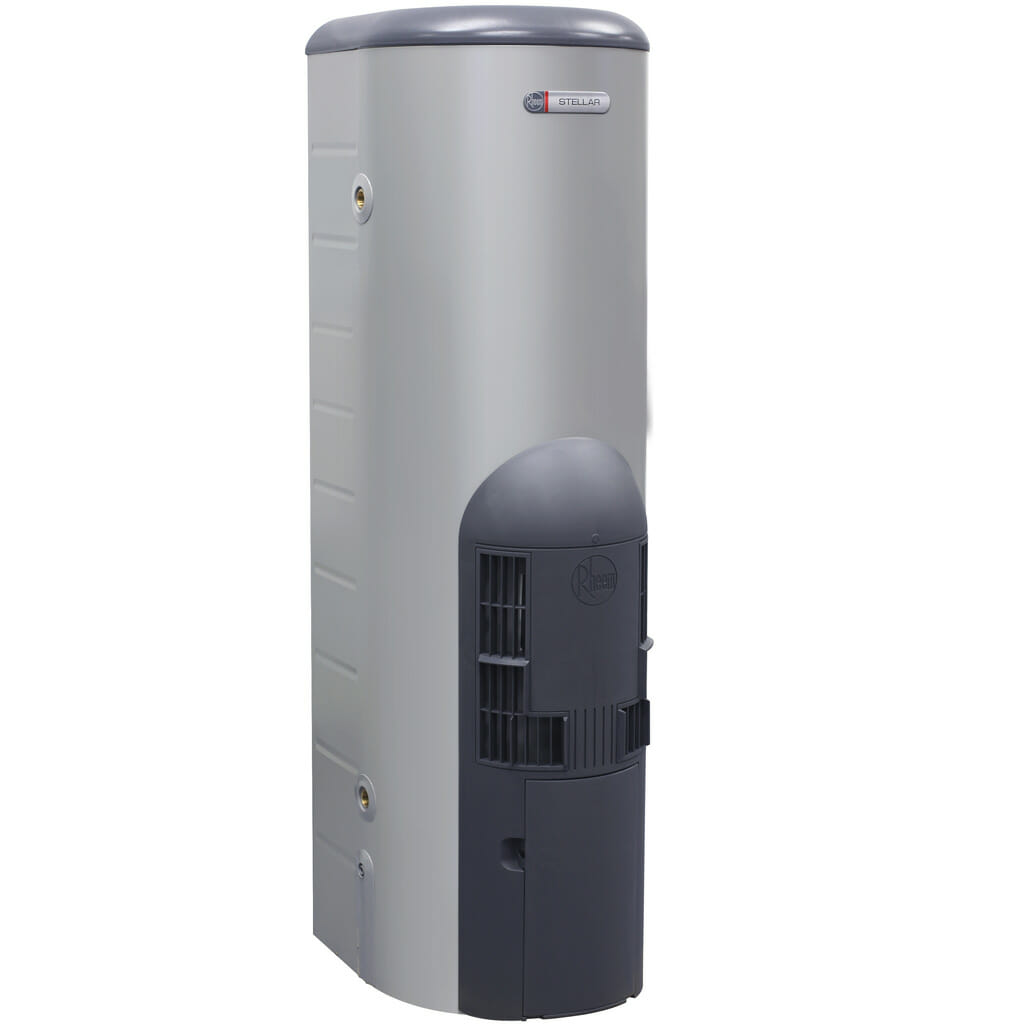
Relighting a Rheem Stellar Gas Water Heater

FOR YOUR SAFETY READ BEFORE RELIGHTING A RHEEM STELLAR GAS WATER HEATER
Warning:
This gas water heater is designed to operate reliably and safely as long as the operating instructions are followed exactly. You must comply with these lighting instructions at every stage. Make sure the water heater is filled with water and the water supply is on, otherwise serious damage to the vitreous enamel cylinder lining and plastic components may occur.
The installer must check all gas connections for leaks, gas supply pressure and test point pressure (refer rating label). Remove the access panel at the front of the water heater to access the gas thermostat.
Note: AS 3498 requires that a water heater provides the means to inhibit the growth of Legionella bacteria in potable water. This water heater can satisfy this AS 3498 requirement provided it is operating and the thermostat setting is 60°C or higher, including when it is used as an in-series booster water heater for a solar water heater.
A. An igniter button is used to light the pilot. When lighting the pilot follow the lighting instructions exactly. DANGER: Never press the igniter button while the gas control knob is in a numbered position. Before pressing the igniter button, turn the gas control knob to the (off) position and wait five minutes.
B. BEFORE LIGHTING ensure there is no smell of gas near the water heater and the burner opening. Be sure to smell next to ground level as some gases can settle there.
C. IF YOU SMELL GAS:
Do not try to light the water heater. Turn the gas control knob clockwise to the (off) position, then turn off the isolation valve in the gas line to the water heater. Leave the area and call Rheem Service or a qualified service technician.
D. Use only your hand to turn the gas control knob, never use tools. If the control knob will not turn by hand, call a qualified service technician. Force or attempted repair may result in a fire or explosion.
E. If the water heater has been damaged DO NOT attempt to operate it – call a qualified service technician.
LIGHTING INSTRUCTIONS
1. Stop, read the safety information
Remove the access cover.
DANGER: If the main burner or pilot flame is extinguished for any reason during the lighting process, ALWAYS turn the gas control knob to the (off) position and wait 5 minutes.
2. Turn the gas control knob fully clockwise to the (off) position.
3. Wait 5 minutes so any build-up of unburnt gas can escape. Warning: Failure to wait 5 minutes may result in a fire or explosion.
4. Turn the gas control knob to the (pilot) position.
5. Depress the knob fully and hold the knob down until the end of Step 7. Note: If it is not possible to depress the knob FULLY, turn the gas control knob to the (off) position and begin again at step 3.
6. After waiting 30 seconds and with your face clear of the combustion chamber opening, press the igniter button repeatedly (for up to a further 40 seconds) until the pilot flame lights.
7. Continue to hold the knob down for 20 seconds after the pilot flame lights.
8. Release the knob and check the pilot is still alight – look through the combustion chamber opening below the gas control.
9. If the pilot has failed to light or has not remained alight, turn the gas control knob to the (off) position and begin again at step 3. Note: The next step will cause the main burner to light, if the water in the tank needs heating. The flames may be noisy at first. This is normal and will cease after 2-5 seconds.
10. If the pilot flame remains alight, turn the knob anticlockwise to the numbered setting of ‘6’ for a water temperature of about 60°C. This setting is also shown on the rating label.
11. Turn the knob to a higher number if a higher water temperature is required. Refer to “Temperature Adjustment” on page 5.
12. Replace the access cover.
The main burner will now automatically ignite when heating is required and extinguish when the water has been heated to the set temperature. If the main burner does not light at the selected setting, the water may already be at the selected temperature.


