


Description
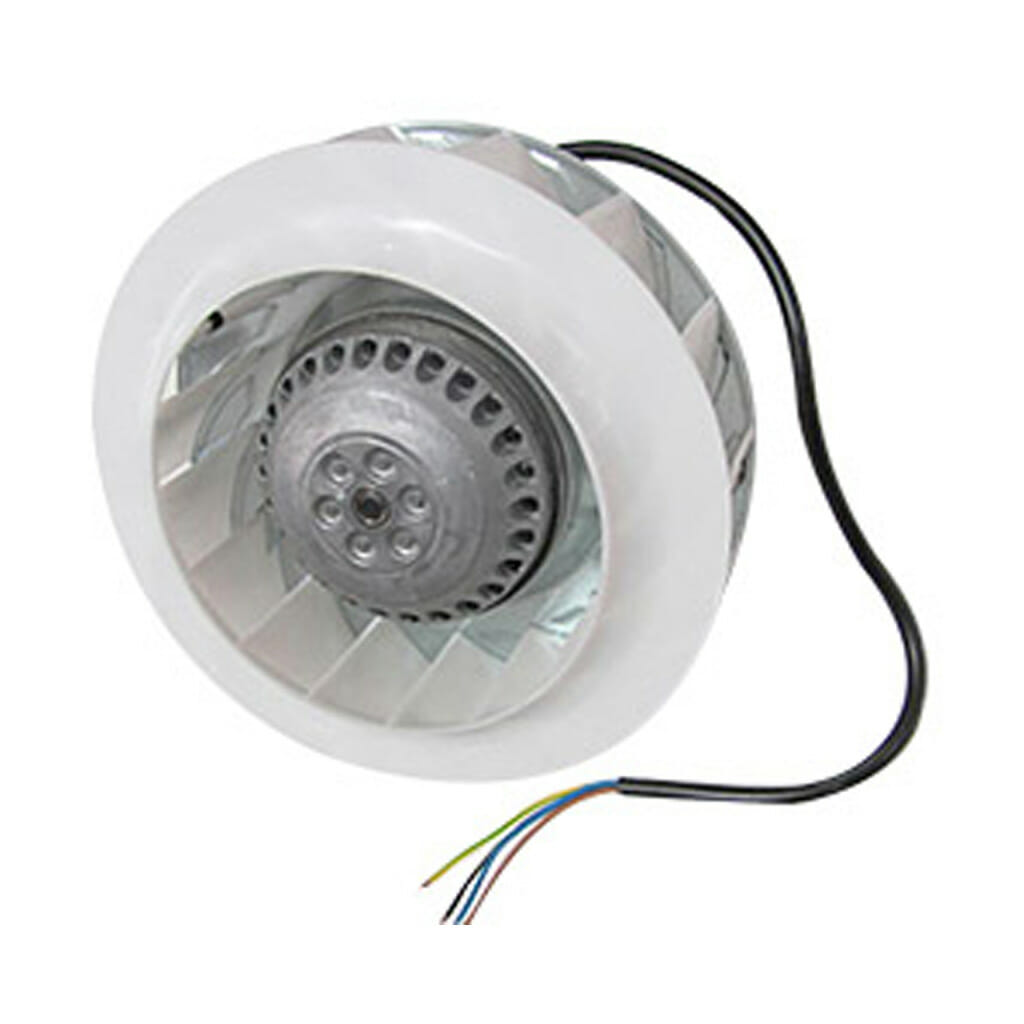
Rheem 053011 Fan
Fan Motor 053011 Replacement
053011
- Remove 3 pin plug from GPO
- Remove lower access door.
- Disconnect wiring to ignition module and door switch.
- Remove upper access door and disconnect power supply and sensor multi-pin connectors to thermostat.
- Remove screws securing air duct. Note: It is not necessary to remove screws around base of air duct or the screw securing cord bracket to jacket.
- Pull air duct out at bottom then slide down to disengage from top air duct. Note: The air duct may be sealed to the heater jacket using silicone; care should be taken not to damage the air duct when breaking the silicone seal.
- Remove 4 screws (2 at front and 1 on each side of air duct) and remove fan module.Note: Support fan module when removing screws to prevent module from falling and being damaged.
- Remove fan module wiring cover (1 screw) and disconnect fan motor wiring. Note position of wiring connections for reconnection of replacement motor.
- Remove fan motor support bracket (4 screws).
- Remove fan motor from bracket (4 screws).
- Reassemble in reverse order of above. Note: for models installed in an external position, the air duct must have black sealing tape fitted or be sealed to the heater jacket using silicone. In either case an ‘L’ shaped silicone seal must also be made between the rain guard and air duct as depicted in the ‘631275 & 632275 Air Duct Silicone Seal Illustration’ on page 91. A small amount of silicone must also be added along the two vertical edges of the cut-out in the air duct where the thermostat panel overlaps as depicted in the illustration shown in step 6 of procedure 7B.
- Restore power and test operation


